Installing hurricane shutters is an essential task for protecting your home during storm season. These shutters help shield your windows from strong winds, flying debris, and heavy rain. By doing the installation yourself, you can save money and ensure that everything is done to your satisfaction. Plus, having hurricane shutters in place gives you peace of mind when the weather turns rough.
This guide will walk you through the steps of installing hurricane shutters, from gathering the necessary tools to the final maintenance tips. The process is straightforward, but it’s important to be precise to make sure your shutters provide the best protection possible. Whether you have experience with home improvement projects or this is your first time, you’ll find these steps easy to follow.
Gathering Tools and Materials
Before you start, you need to gather all the tools and materials necessary for installing hurricane shutters. Having everything ready will make the process smoother and ensure you don’t have to stop in the middle to find something. Here’s a list of the basic tools and materials you’ll need:
1. Hurricane Shutters: Make sure you have the right size and type of shutters for your windows. Check the packaging for any special installation instructions.
2. Measuring Tape: Accurate measurements are critical, so have a reliable measuring tape handy.
3. Pencil and Marker: You’ll need these for marking drill points and cutting lines.
4. Drill and Bits: A good quality drill with various bits for different surfaces is essential. Ensure you have bits suitable for drilling into wood, metal, or masonry, depending on your window frame material.
5. Screws and Anchors: Use the screws and anchors recommended by the shutter manufacturer to ensure a secure fit.
6. Level: A level helps you ensure that your shutters are aligned correctly.
7. Screwdriver: Both manual and power screwdrivers can be useful for tightening screws securely.
8. Safety Gear: Safety glasses and gloves are important for protecting yourself during the installation process.
Having these tools and materials gathered before beginning the installation process saves time and keeps you focused on the task. Make sure everything is within reach and easily accessible.
Measuring and Marking Your Windows
Accurate measurements and markings are essential to ensure that your hurricane shutters fit correctly and provide the maximum protection. Here’s a step-by-step guide to measuring and marking your windows:
1. Measure Window Dimensions: Use your measuring tape to get the height and width of each window. Measure from the outer edges of the window frame. Make sure to write down each measurement clearly.
2. Mark Drill Holes: Using a pencil or marker, mark where you will need to drill holes for the mounting brackets. These marks should be evenly spaced and aligned with the pre-drilled holes in your shutter.
3. Check Alignment: Use a level to make sure that all your marks are straight. This step is crucial for ensuring that your shutters will be level once installed.
4. Double-Check Measurements: Before you start drilling, double-check all your measurements and marks. It’s better to catch any mistakes now rather than when you’re in the middle of installation.
5. Prepare the Frames: If your window frames require any additional preparation, such as reinforcing weak spots or filling gaps, now is the time to take care of that. This will provide a more stable base for your shutters.
Following these steps ensures that your shutters will fit correctly and be easy to install. Accurate measuring and marking are key to a successful installation, so take your time and be precise.
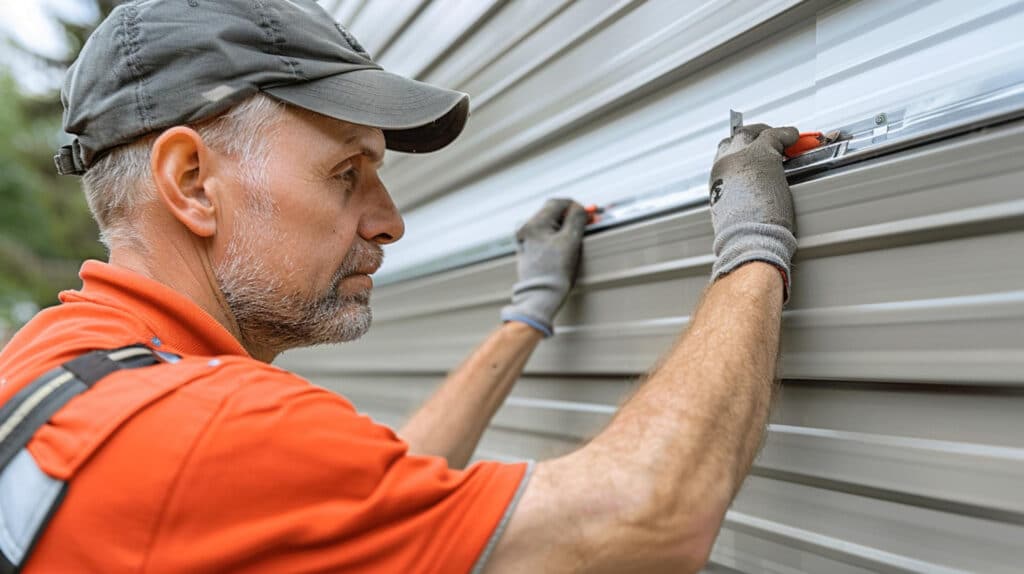
Installing the Hurricane Shutters
Now that you’ve gathered your tools and measured your windows, it’s time to install the hurricane shutters. Follow these steps to ensure a secure and effective installation:
1. Attach the Mounting Brackets
Begin by drilling pilot holes at the marked spots on your window frame. Then, use your screwdriver or drill to attach the mounting brackets firmly into place. Make sure the brackets are level before securing them completely.
2. Align the Shutters
Hold the hurricane shutter up to the window to align it with the mounting brackets. It may help to have a second person assist you with this step, especially for larger shutters. Ensure the pre-drilled holes in the shutters match the positions of the brackets.
3. Secure the Shutters
Insert the screws through the pre-drilled holes in the shutters and into the mounting brackets. Tighten the screws securely but be careful not to overtighten, as this could damage the shutters or the window frame. Check that the shutters sit flush against the window frame without any gaps.
4. Test the Fit
Once the shutters are secured, open and close them several times to make sure they operate smoothly. Ensure there is no obstruction and that the shutters lock into place correctly when closed.
5. Double-Check Security
Walk around your home to ensure all shutters are installed correctly and securely. Give each installed shutter a gentle tug to confirm that it is firmly attached and not loose in any spots.
Taking your time with the installation and double-checking each step will result in hurricane shutters that are both secure and easy to operate, providing maximum protection for your home.
Final Checks and Maintenance Tips
After installing your hurricane shutters, performing some final checks and regular maintenance will keep them in top condition. Here are the steps to follow:
1. Inspect All Shutters
Walk around your house and inspect each installed shutter. Look for any signs of misalignment, loose screws, or gaps between the shutter and the window frame. Correct any issues you find right away to ensure optimal performance.
2. Test All Fasteners
Make sure all fasteners are tight but not overly tightened. Loose fasteners can make the shutters ineffective, while overtightening can damage the shutters or frame. Regularly check fasteners to ensure they remain secure.
3. Clean Shutters Regularly
Keep your shutters clean by washing them with mild soap and water. Pay attention to the tracks and hinges to keep them free of dirt and debris, which can cause the shutters to stick or not close properly.
4. Lubricate Moving Parts
Use a suitable lubricant on hinges and moving parts to ensure smooth operation. This is especially important if you live in a coastal area where salt water can cause parts to corrode.
5. Schedule Seasonal Checks
At the beginning and end of storm season, give your shutters a thorough check. Look for any wear and tear and make repairs as needed.
6. Store Removable Shutters Properly
If you use removable storm panels or shutters, store them in a dry, safe place when not needed. Stack them flat to avoid warping and ensure they are ready for the next use.
Regular maintenance ensures your hurricane shutters remain effective and ready to protect your home from storms.
Conclusion
Hurricane shutters play a crucial role in protecting your home and family from severe weather. From gathering your tools and measuring your windows to installing the shutters and performing regular maintenance, each step is vital in ensuring the effectiveness of your storm protection.
For professional assistance or more information on hurricane shutters in Estero, FL, and other storm safety products, contact us at Hurricane Shutter Company Fort Myers today. Our team is ready to help you safeguard your home against the elements.